
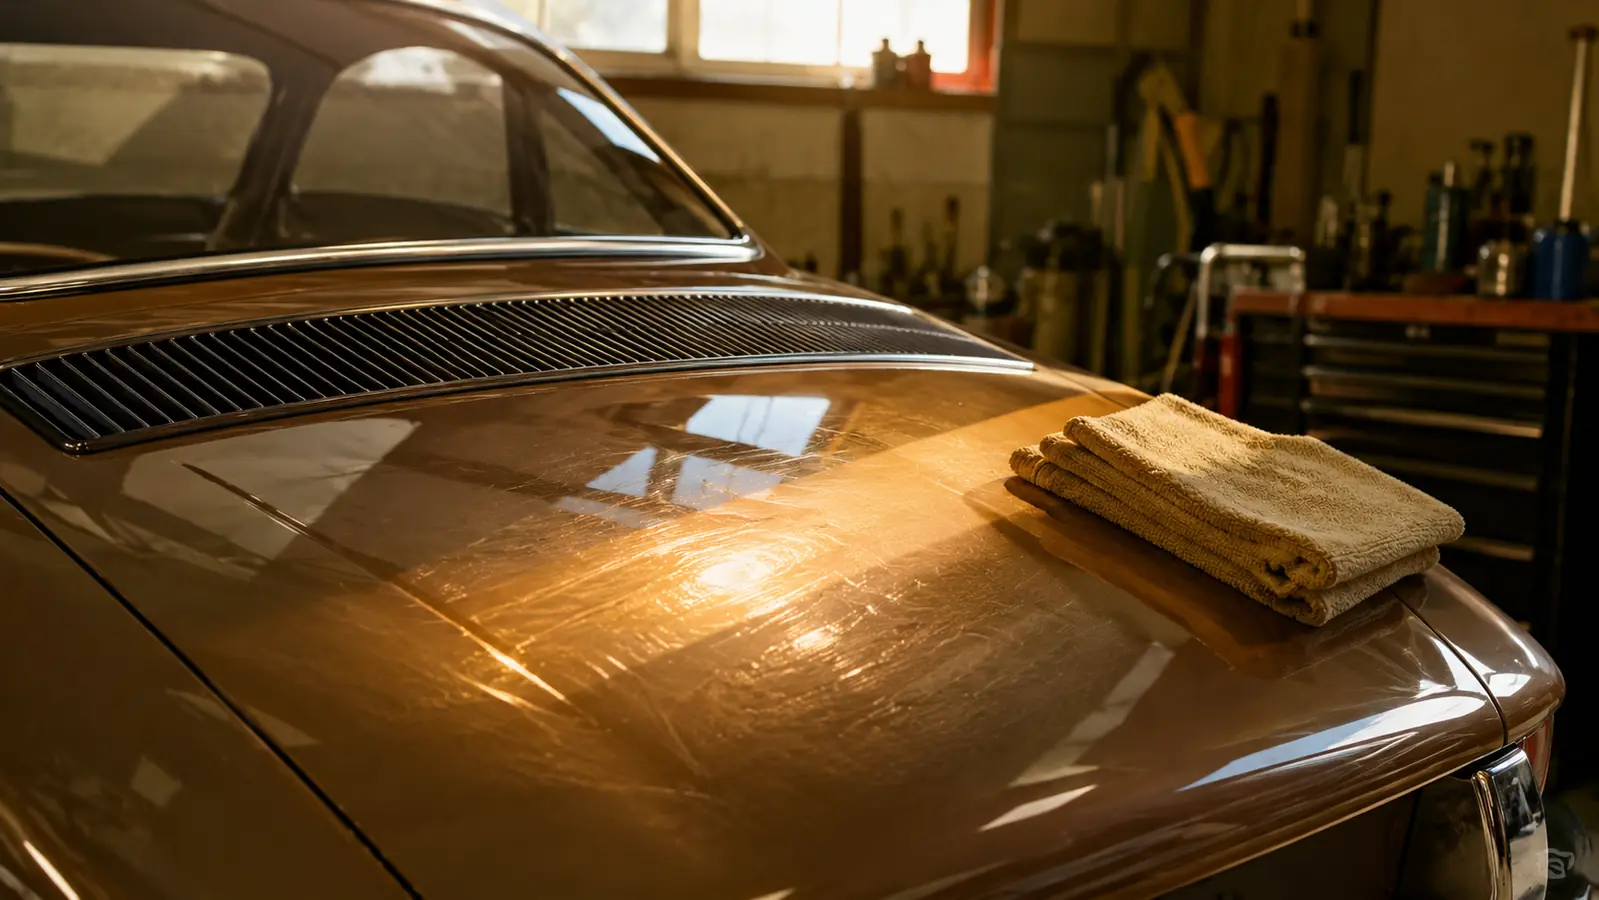
Sun gets low over the garage and suddenly your paint is telling on you. Swirls across the decklid from a previous owner's machine wash, a light haze over the hood, fine scratches running every which way through the color. On a modern clear coat that's mostly cosmetic. On the single-stage enamel most of us are actually driving, that haze is the paint's outer skin wearing thin, and if you leave it alone it keeps going until you're looking at primer.
The fix is a compound, a foam pad, and your own arm, no machine in sight. The one I reach for every time is Meguiar's Ultimate Compound, the 15.2-ounce bottle that has sat on my workbench for three summers. It cuts, it breaks down as you work, and it wipes off clean, which sounds like nothing until you've used a compound that dusts the whole garage and refuses to come off. I've cut single-stage, clear coat, and a couple of resprays that felt like both, all by hand.
Last spring I did the decklid on my Thunderbird the way I'll walk you through below, forty minutes a panel, no machine, and the fella who sold it to me drove past and thought I'd had it sprayed. I hadn't. That's the whole trick of it, doing a few simple steps in the right order.
The Compound That Cuts by Hand: Meguiar's Ultimate Compound
One bottle has handled every hand-cut I've done in three summers. It cuts swirls and haze without caking the pad or dusting the garage.
Amazon Check Today's Price on Amazon -> →Why Do This By Hand at All?
Because most of the damage on the cars we own doesn't need a machine, it needs cutting, and a hand pad does the cutting. A machine is faster once a panel is bad enough to want serious work, and I own one, but it brings its own risks: a speed setting you can misjudge, a corner you can linger on, a hot pad against thin paint. Your hand can't overspin. A machine polisher on the wrong setting can eat through a fender ridge that's already thin in the time it takes you to answer the phone.
Hand-cutting also teaches you the feel of paint, which is worth something on its own. You learn what a swirl feels like versus a scratch, when the compound has gone clear, when the paint is starting to grab. That feel transfers straight to the machine the day you finally buy one, and it keeps you from being the guy who burns a hole in a perfectly good fender. Start by hand, learn the material, earn the machine.
Step 1: Wash the Panel and Dry It Bone-Dry
Compound is abrasive, that's its job, tiny grits that level the paint down to the bottom of the shallow scratch. Which is exactly why the panel has to be clean before you start. A speck of grit under your pad acts like a single coarse stone and leaves you a fresh scratch to chase while you're erasing the old ones. I've done it, everyone does it once, and it's the fastest way to waste an afternoon.
Wash with a good car soap, two buckets if you've got them, and rinse well so nothing dries on the paint. Dry with a clean, plush microfiber towel, not the one you use on the windshield. Then clay the areas you're about to cut, a couple of glides with the bar and some detailing spray to pull the bonded fallout out of the finish. Ten minutes here saves an hour of scratch-chasing later.
Step 2: Know Your Paint and Tape Up
Most of what people point at and call a scratch is one of three things: swirls from bad washing, a light surface scratch, or a scratch that goes through the color. Swirls cut right out, that's what this article is for. Light scratches catch a fingernail partway. A scratch you can feel solidly with your thumbnail, one that shows white, is through the color; no compound can fix a scratch that's deeper than the paint, because there's nothing left to level off. Knowing the difference before you start is what keeps you from cutting a panel for nothing.
Decide what you're cutting, too. Original single-stage enamel, you've got plenty of material and the compound goes straight at the color. A respray with clear coat, the clear is what you're cutting and you have less under you. Check the high spots first, fender ridges, hood edges, the crease by the headlight, that's where cars go thin and where people rub through. Tape off anything you don't want compound on, trim, emblems, a rubber seal, and let the tape sit just onto the paint so you've got a clean boundary to stop at.
Step 3: Load a Foam Pad and Keep the Section Small
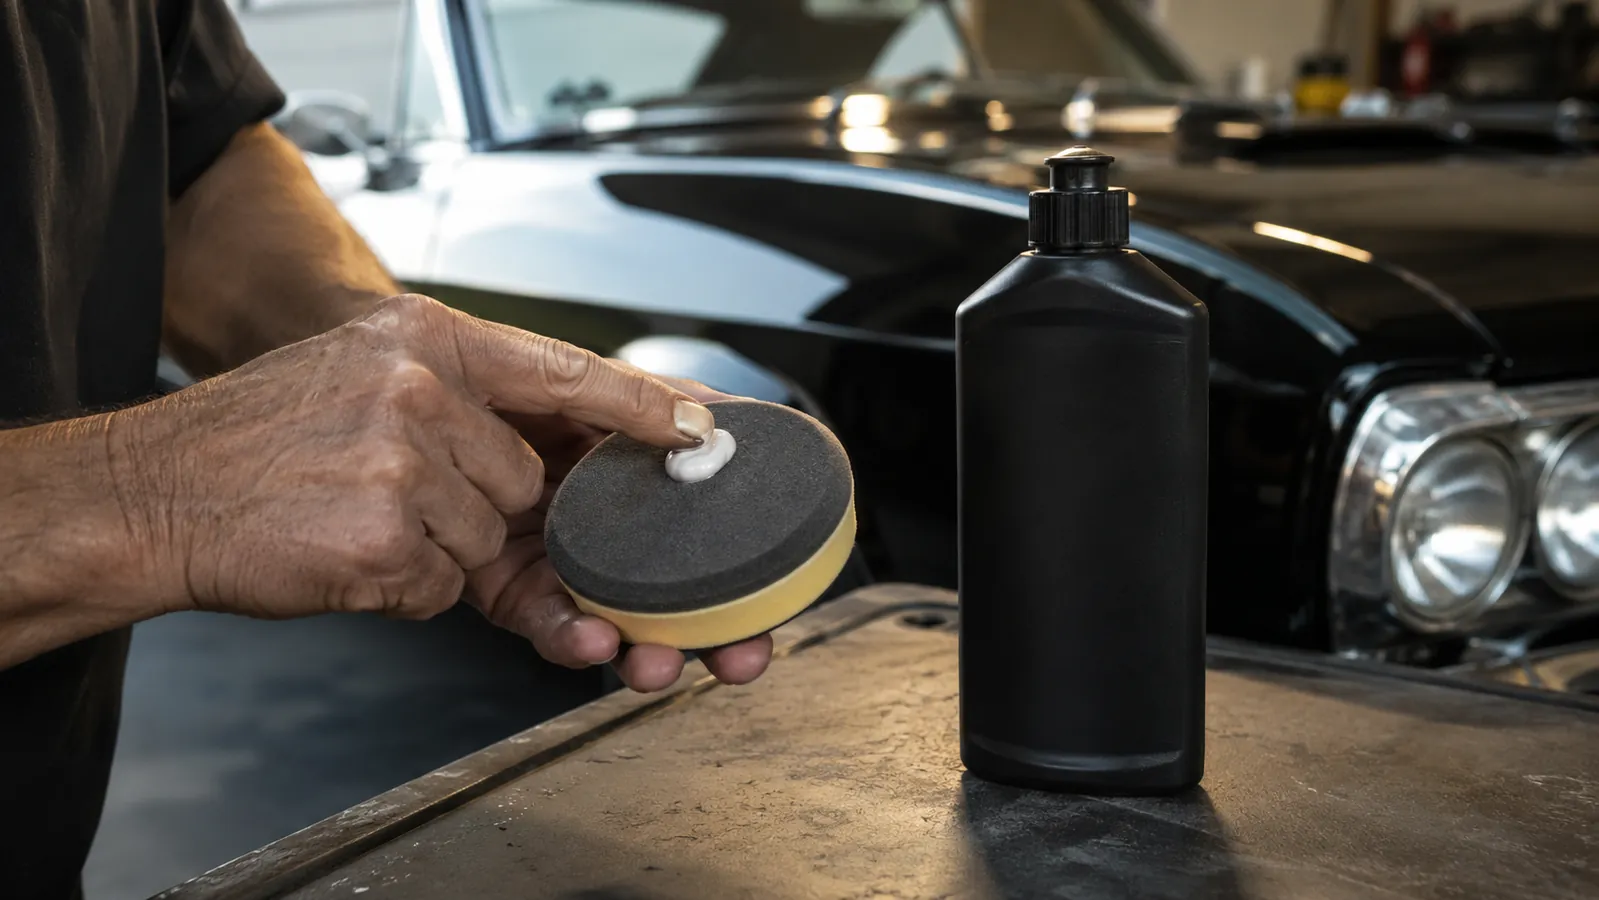
Use a foam applicator pad, never a terry cloth towel. Terry holds compound unevenly and abrades enough to lay down its own micro-scratches, which is the opposite of the whole plan. I press a dab of Ultimate Compound onto the pad about the size of a quarter, then smear it across the whole section before applying any pressure, so it's spread evenly instead of sitting in the middle of the pad.
Keep the section small, about a foot and a half square. My Thunderbird decklid went as a line of sections across the panel. Go bigger and the compound dries out before you finish, and dried compound on a pad is sandpaper you didn't mean to make. Dry compound is the number one cause of it working in the video and not for me.
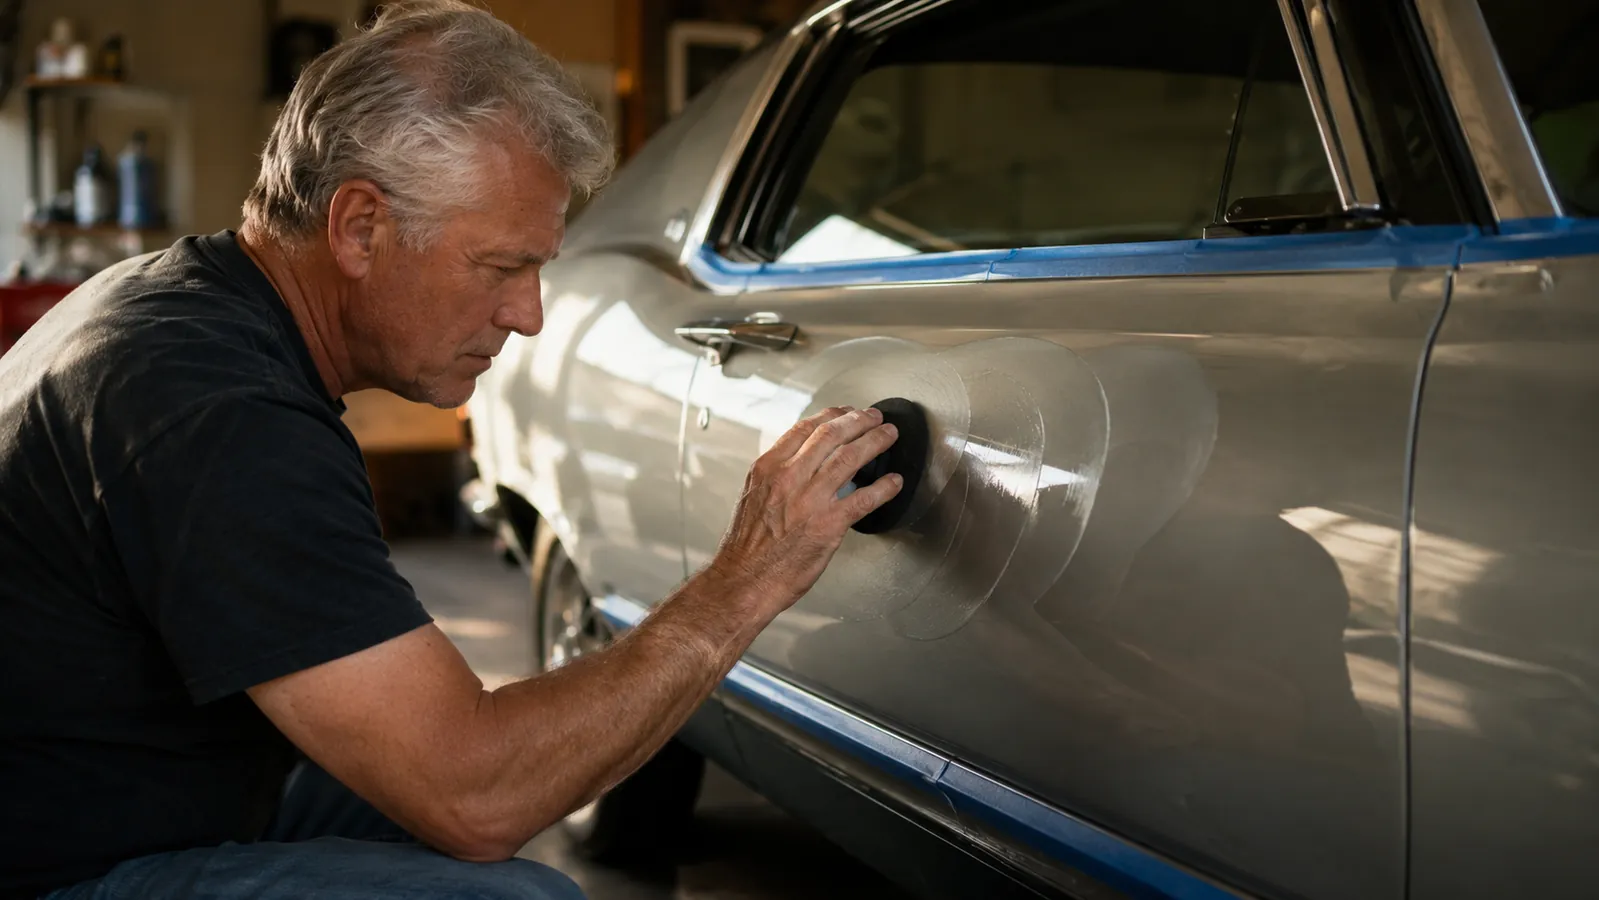
You want the flat of the pad against the paint, moderate even pressure, and the pad moving the whole time. Let the compound cut; your arm is there to guide it, not to grind. If the pad starts to drag, spritz a little water on it. That single habit, water on a pad that's starting to dry, seems to be the difference between a clean cut and a smeared one.
Step 4: Work It Until It Cuts, Check With Light
Work the section in overlapping circles or short back-and-forth passes, your pick, just keep it consistent. Plenty of people go hard for a minute and then complain the swirls didn't vanish. They don't vanish on the first pass. The compound needs passes, so you work the section, wipe the residue with a corner of your towel, check it in the sun or under a shop light, and keep going if the haze is still there.
You can feel the compound change as it works. It starts slightly grainy, then smooths out as the abrasives break down, and when it goes clear it's done cutting. That's the signal to stop pressing and start deciding. Wipe the residue with a clean side of a microfiber towel and look again.
When the section is where you want it, stop there. You are not trying to remove all the paint, you're removing the top of the damage, about as much as it takes to sit below the bottom of the deepest swirl. Gloss over that and you're inventing a repaint. Hand-cutting is a removal game, and the discipline is knowing when you've taken enough.
Step 5: Overlap Every Section, Then Seal What You Cut
Next section, overlap the last one by a couple of inches so you don't leave a line where the cut paint meets untouched paint. Same pressure, same number of passes, same direction, and the panel ends up uniform. That overlap is the detail everybody skips, and it's the difference between a decklid that shines even and a decklid with a ghost panel in the middle.
When the whole panel is cut and wiped, put a wax on it, or a polish then a wax if you want the extra step. Hand-cutting leaves fresh paint bare and hungry for protection. Single-stage enamel especially wants its oils back, that's what keeps it from going chalky in the sun. A coat of wax on the panel you just cut beats cutting the same panel again next spring. It takes ten minutes and it's the half of the job people skip.
A note on lighting, because it decides whether you think you are done. Cut a panel in the shade and you will stop early, then see the missed spots in the sun. I work under a tight work light and I check each section with it at a raking angle before I move on. The swirls you are trying to lift show up best when the light skims across the surface, so set your light low and look along the paint, not straight at it. It is the difference between a panel that looks done in the garage and one that looks done in daylight.
What Else Helps
A short list of things that make the job go smoother. A clay bar kit, because a clean panel really is half the battle. A stack of plush microfiber towels, you'll go through several wiping compound off. A spray bottle of water to keep the pad from ever drying and grabbing. Blue painter's tape so you can stop at a boundary instead of drifting onto trim or a stripe. And a wax or finishing polish for the seal step. None of it is glamorous, all of it earns its keep.
And set the expectations out front. This hand method is for swirls, light scratches, and oxidation haze. It is not for a door ding that catches your fingernail, not for a scratch down to bare metal, not for a panel somebody already burned through with a machine. When the damage is deep, you touch it up or you repaint, and no bottle of compound is a substitute for paint that's gone. But I've had people hand me cars that needed a respray and sent them home with a bottle of Ultimate Compound still in the box. Most faded paint isn't dead, it's dirty on top. That's the whole market this bottle serves.
The decklid on my Thunderbird took forty minutes a panel by hand, three passes a section with a check in the sun between each, and it came out even enough that the fella who sold me the car thought I'd had it repainted.
The Bottom Line
Hand-cutting is not a shortcut, it's a technique, and it rewards the guy who does the steps in order. Clean panel, small sections, even pressure, check your work, seal it when you're done. Do that and the paint you wrote off as dead earns a few more good years, done in the driveway with your own arm and no machine hum. That's the kind of Saturday I like, and it's why the compound never leaves my bench.
Cut the Swirls This Weekend: Meguiar's Ultimate Compound
One bottle, a foam pad, and forty minutes a panel. If your paint has swirls and haze but no deep scratches, this is the surest hand-cut I've found.
Amazon Check Today's Price on Amazon -> →