
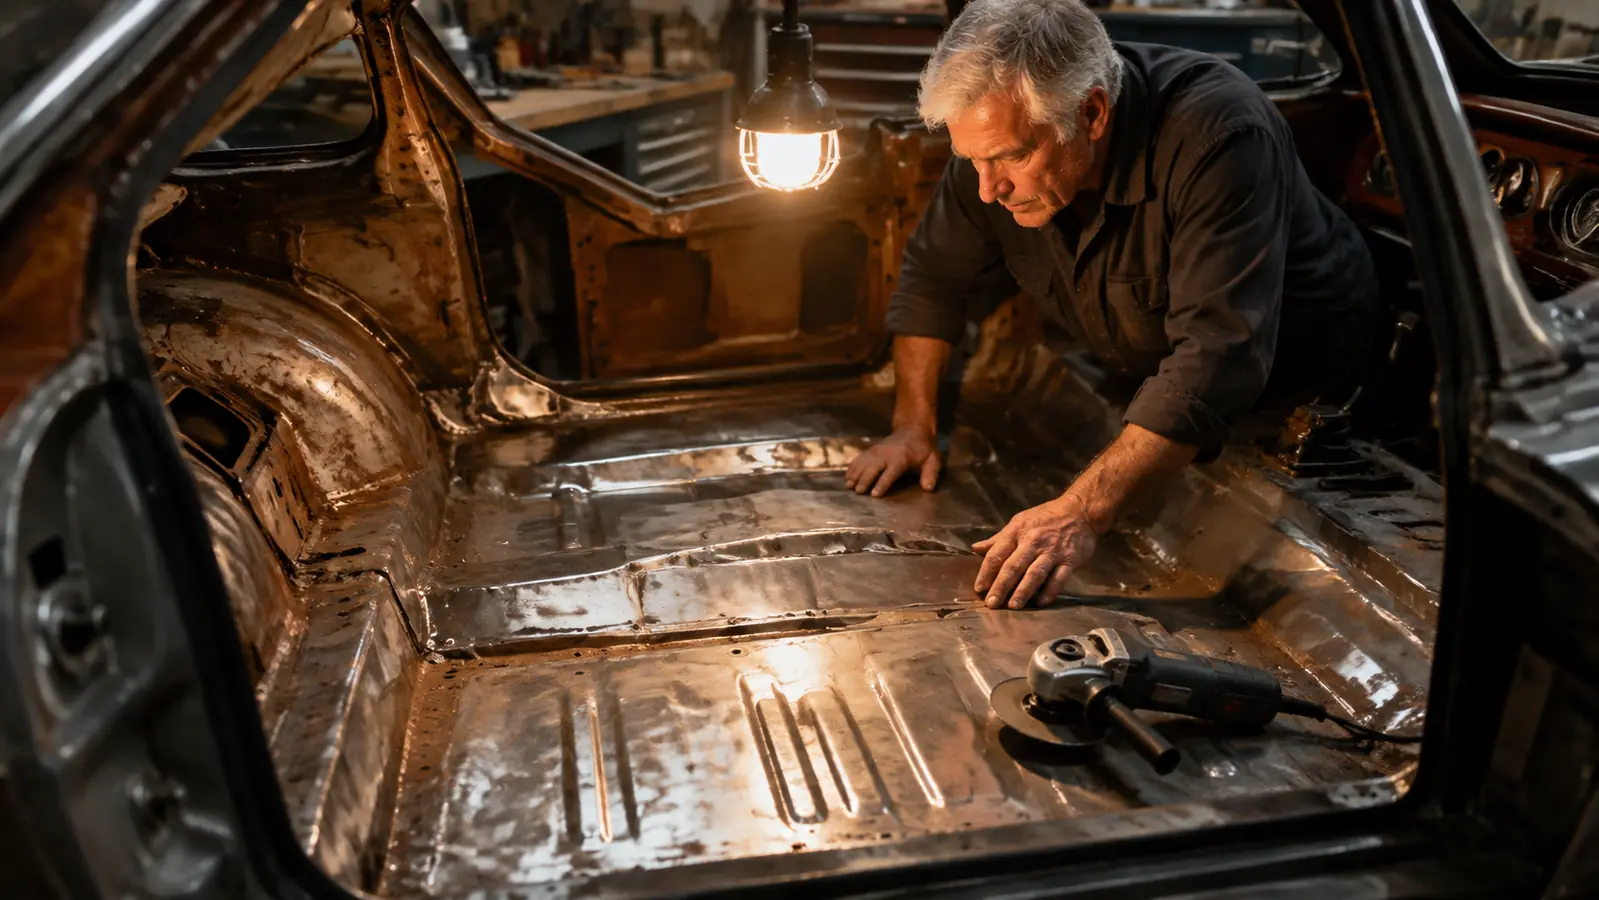
Rust hides. You paint over a dirty patch of it thinking you've beat it, and within a season it's bleeding through your fresh color in those little rust tears that look like somebody sneezed on the panel. I've been there, we all have. The reason it comes back is almost never the paint, it's that the rust was never actually dealt with before the primer went on. Primer is not a rust treatment. Primer is a bond for paint over a surface that's ready for it, and until the rust is dead, the surface isn't ready.
The right order is simple, and it's the same order I've used on the F-series floor pans, the six-cylinder coupe's inner fenders, and a Thunderbird frame that had more surface rust than paint. Wire-wheel it down, knock off the scale, treat what's left, seal it, then prime. Five steps, none of them hard, all of them necessary. My bulldogs Brutus and Dottie watch me do it from the corner of the garage, and Dottie's verdict is that it's boring, which is exactly what you want from rust work. Boring means nothing is coming back.
The Treatment I Keep on the Shelf: Rust-Oleum Rust Reformer
One can converts the rust you can't grind away into a paintable surface and seals it so it can't come back under primer. The workhorse of the rust bench.
Amazon Check Today's Price on Amazon -> →Why You Can't Just Paint Over Rust
Paint is a film sitting on top of the metal. Rust is the metal itself oxidizing, turning into a flaky, porous powder that holds moisture and keeps going. If you lay paint over that, the paint is just a lid on a pot that's still boiling. Moisture gets in through the edges, the rust keeps advancing underneath, and the paint loses its grip from below. That's the classic blistering you see on patched floor pans, paint that bubbles up like a rash because the metal under it was still rusting the whole time.
So the job before primer is twofold. One, get down to metal that isn't actively decaying. Two, treat the metal so it resists starting over, and seal it so nothing gets in between. If you've done those two things, the primer has a clean, stable surface to grab, and the paint has a fighting chance. This is the part of restoration that's not glamorous, it's the part that holds. It's the same reason I'm careful about the spar on a pair of wings, people will spend a fortune on the fabric and the engine and skimp on the part that actually keeps it together. On a car, that part is the metal. Treat it once, treat it right, and you don't have to dig it out and do the whole job again in a couple of years.
Step 1: Wire-Wheel Down to Bare Metal
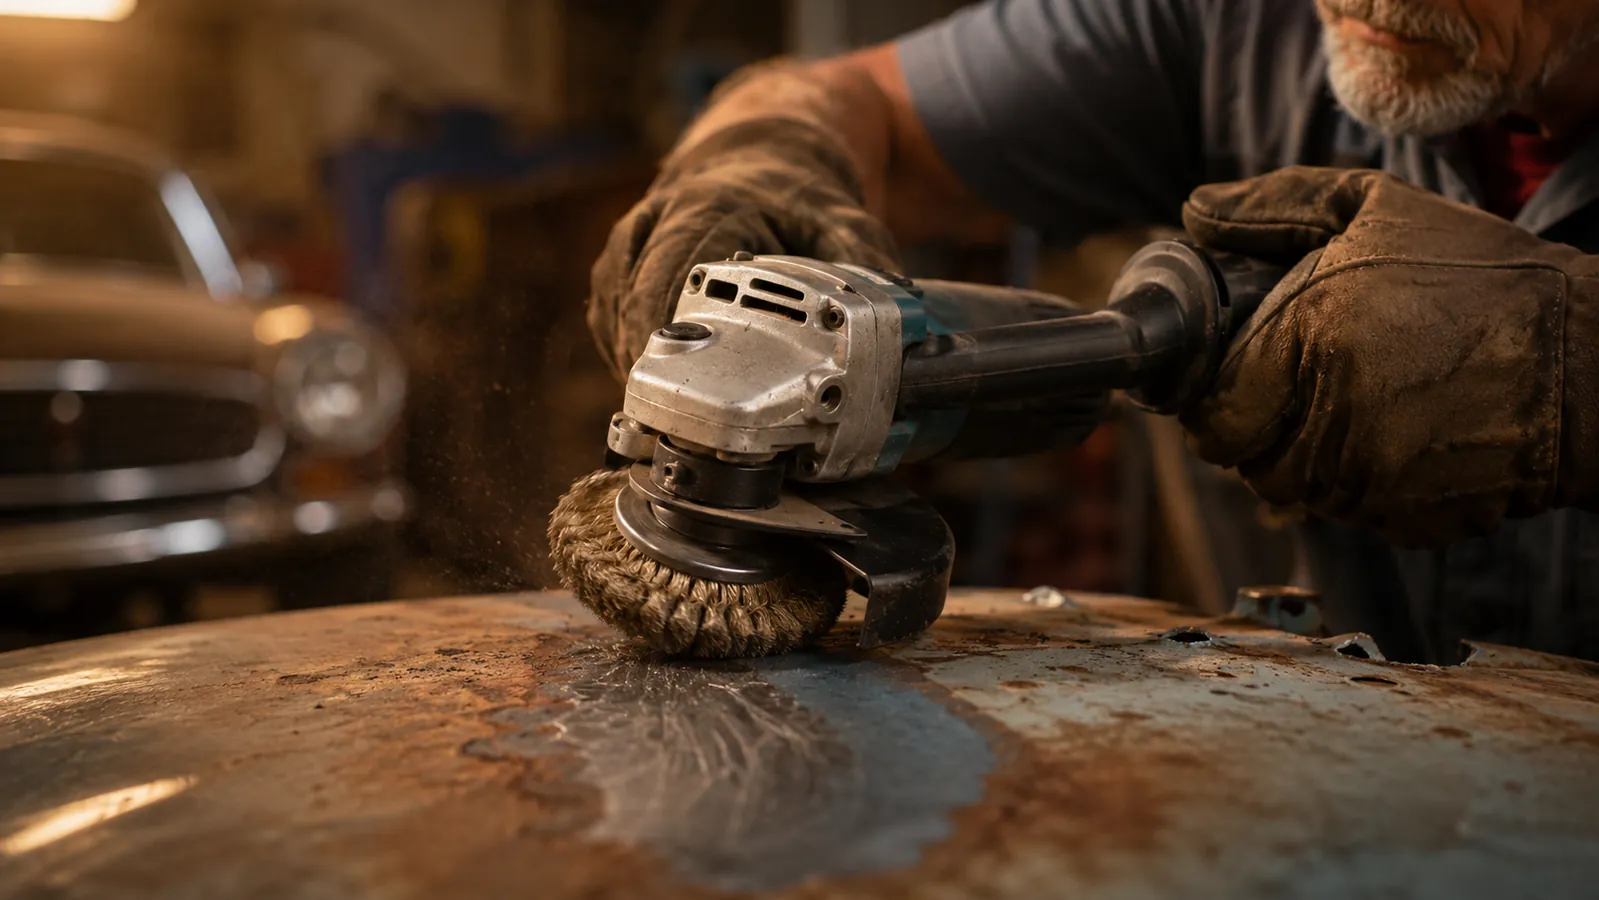
Start with a wire wheel on an angle grinder, or a cup brush if you're on a big flat area, and get the loose rust off. You're not chasing every last speck here, you're removing the flaky top layer and getting down to where the rust is actually attached to solid metal. Run the wire wheel over the whole patch until you see clean, bright metal with maybe a thin stain of rust left in the pits. That stain is fine, we're going to treat it in a few minutes. Grind until the scale is gone and the surface is firm.
Wear eye protection and a dust mask, because a wire wheel throws fine rust dust everywhere, and that dust tastes like regret. Work in good light, and if you're doing a floor pan, sweep before you start so you're not wire-wheeling through dirt and turning the whole thing into mud. You want to see the metal you're working, not the dirt you're polishing.
A note on the wire wheel itself. A worn-out wheel doesn't cut, it just glazes the rust over and leaves you metal that looks clean but isn't. If the wheel starts to slide across the surface instead of biting, replace it. A cheap new wheel beats ten minutes of fighting a tired one, and it's the difference between metal that's ready and metal that just looks ready.
Step 2: Knock Off the Scale and Feather the Edges
Once the flaky rust is gone, go over the edges of the patch. Where the rust meets good paint, feather it out so there's no hard lip. A hard edge of old paint is a weak point, water gets under it and the paint chips there. Feathering means blending that edge into the metal so the transition is gradual, using a sanding disc or a finer grit on the grinder, then smoothing it by hand if you want a clean line.
If the rust has pitted the metal, you'll feel the pits with a fingernail. Light pitting is fine, the treatment and primer will fill it. Deep pitting, into a hole, is a different problem, that's a patch or filler, not a treatment job. This method is for surface rust, the orange-brown dust that hasn't eaten through. If it's a hole, stop and fix the hole first. Treating rust and welding a patch are two different Saturdays, and trying to do both at once is how you end up with a floor pan that looks fine and leaks where you didn't look.
Step 3: Treat the Rust That's Left
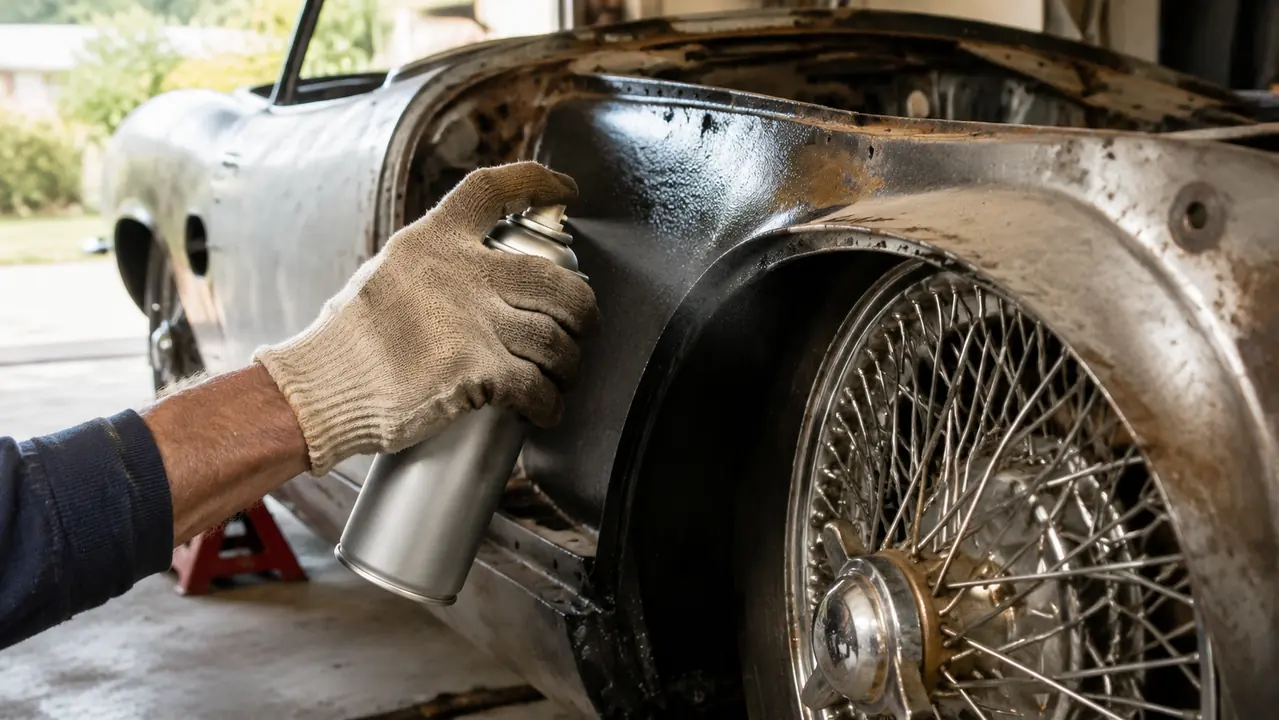
Now the part that earns its keep. You can't wire-wheel away every last molecule of rust, and you don't need to, because the right treatment converts the rust that's left into a stable, paintable surface and seals it. That's what Rust-Oleum Rust Reformer does. It's a spray-on that reacts with the rust, turns it into a dark, inert coating, and stops it from advancing. Spray it over the surface rust you've already knocked down, and the rust that's still in the pits becomes a part of the seal instead of a fuse.
Shake the can well, hold it about eight to ten inches back, and lay down light, even coats. Don't try to drown it in one pass. Two or three light coats, letting each one flash dry between, gives you better coverage than one heavy coat that runs and sags. The reformer dries fast, which is a blessing on a floor pan where you're working low and the angle is awkward. The comfort tip means you can spray from almost any angle, which matters when the surface is under the car and your wrist is at a weird twist.
And here's the honest part. The reformer works on surface rust that's been knocked down. It does not work on heavy flaky scale, and it won't fix a bare metal patch that's already clean, that's not what it's for. It's for the rust you can't fully remove, the stain in the pits, the undertone of orange you can't wire-wheel away. On that, it's the single best tool I've found. It turns the thing you can't beat into the thing that protects you, and that's a lot smarter than grinding a hole in the metal to get at a speck of rust.
Step 4: Let It Cure and Seal the Surface
Here's where people rush it and pay for it. The reformer needs time to do its chemical work, not just to feel dry. It feels dry to the touch in a few minutes, but the conversion reaction keeps going, and if you prime over it too soon you can trap the chemistry before it's finished. Give it the cure time on the can, usually an hour or so between the last coat and priming, longer if the garage is cold or damp. A warm, dry garage is your friend for this step.
After it cures, the treated surface should be a dark, matte, paintable coating. That's your seal. It's now a stable base that's ready for primer, and it's the barrier that keeps moisture from ever reaching the metal again. This is the step that makes the difference between rust that's dead and rust that's just hidden. The reformer plus a proper cure is what puts the rust to bed for good, and it's the step almost nobody wants to wait for.
Step 5: Primer, Then Paint, and Don't Skip the Cure
Once the treatment has cured, lay your primer over it. Use a quality self-etching or epoxy primer for bare metal, that's the one that bonds to metal instead of just covering it. Two light coats, let each flash, and you've got a surface ready for your color. The reformer gives the primer a stable base to grab, and the primer gives the paint a stable base to grab, each layer doing its one job.
And then, as tempting as it is, don't rush to color. Primer needs its own cure, usually overnight in a warm garage, before you paint it. I've primed a floor pan and sprayed color the same evening because I was excited, and the color sat on primer that was still gassing off, and it came out with a texture no amount of paint would fix. The rust work is the part where patience is the whole game. Every step done in order, every step given its cure, and the rust stays dead.
What Else Helps
A couple of things that make the job go better. A wire wheel and a cup brush for the grinder, because you'll want both depending on the shape you're treating. A good set of sanding discs for feathering the edges. A dust mask and eye protection, not optional when you're wire-wheeling rust. A drop light you can aim at the work, because rust hides in shadows and you want to see what you're treating. And a self-etching primer for the bare metal, don't reach for a general-purpose primer that was never meant to bond to metal.
Also worth knowing the limits before you start. This method is for surface rust, the orange dust that hasn't eaten through. It is not for a floor pan with a hole in it, not for rust that's pitted deep enough to catch a fingernail solidly, not for a frame that's structurally compromised. Those are cutting and welding jobs. When the metal is gone, no treatment revives it, same way no fabric brings back a rotted spar. Treat the surface rust, fix the holes, and you'll never see the rust again.
And set a clean work area aside for it. Corrosion happens fastest where moisture sits, so sweep, dry, and get the panel out of the weather before you start laying down coats. A little time spent on clean, dry conditions is worth more than any product, because every can of treatment in the world is fighting for nothing if you spray onto a damp panel.
Wire-wheel it down, knock off the scale, treat the rust you can't grind away, let it cure, then prime. Do the steps in order and give each one its cure time, and the rust that was bleeding through your paint is gone for good.
The Bottom Line
Rust work isn't glamorous, but it's the part that holds, and it's the difference between a restoration that lasts and one you get to do twice. Clean metal, treat the rust that's left, seal it, prime it, and give every step its cure. That's the whole job. My F-series floor pans have gone two winters since I treated them this way, and the undercoating is still holding with not a rust tear in sight. Dottie still thinks it's boring, and I couldn't be happier about that. Boring is exactly what you want from rust.
Put the Rust to Bed This Saturday: Rust-Oleum Rust Reformer
Knock the rust down with a wire wheel, then let a can of Rust Reformer convert what's left into a paintable seal. The quiet workhorse of the rust bench.
Amazon Check Today's Price on Amazon -> →