
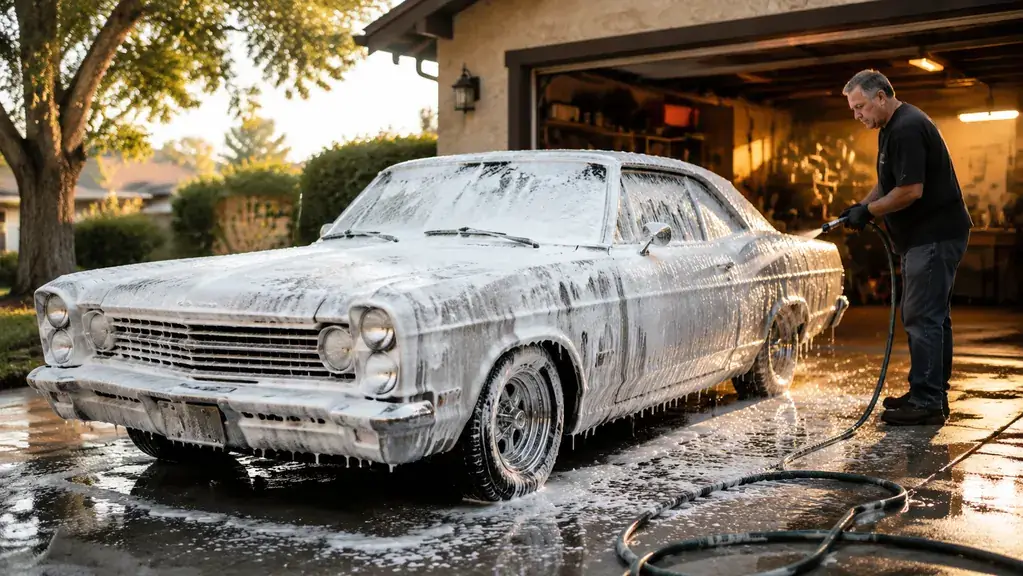
Every old car I have owned has taught me the same lesson about washing, and it took a few hoods to learn it: the paint shreds long before the engine ever quits. You can keep a six-cylinder running forever, polish the chrome every fall, rewire the whole dash over a winter, and then scratch the hood to hell with one dirty wash mitt on a sunny Saturday afternoon. I have done exactly that. You probably have too, and you know the sick feeling when the sun catches it and lights up a thousand little swirls you never saw in the shade.
Here is the thing I wish somebody had told me thirty years ago. A scratch during a wash almost never comes from scrubbing too hard. It comes from dragging grit across the paint, grit already loose on the surface before a mitt ever touches it. So the trick to a safe wash is taking the dirt off before it meets the paint, and then keeping that dirt out of your mitt. It is not exotic. Two buckets, a grit guard, a foam cannon, and a soap that is gentle enough to leave the wax alone. Chemical Guys Honeydew is the soap I keep coming back to for the old iron in my garage, and I will tell you why as we move through the steps.
Start With a Soap That Isn't Stripping the Wax Off as It Cleans
A gallon of Honeydew is pH-balanced so it breaks down the dirt and road film without pulling the wax or sealant off the paint. That matters more on a classic, where the paint is thin and the wax is the only factory you have left. Check today's price on Amazon before you buy a bucket of dish soap for your best car.
Amazon Check Today's Price on Amazon →Step 1: Set Up Two Buckets, and Put a Grit Guard in One of Them
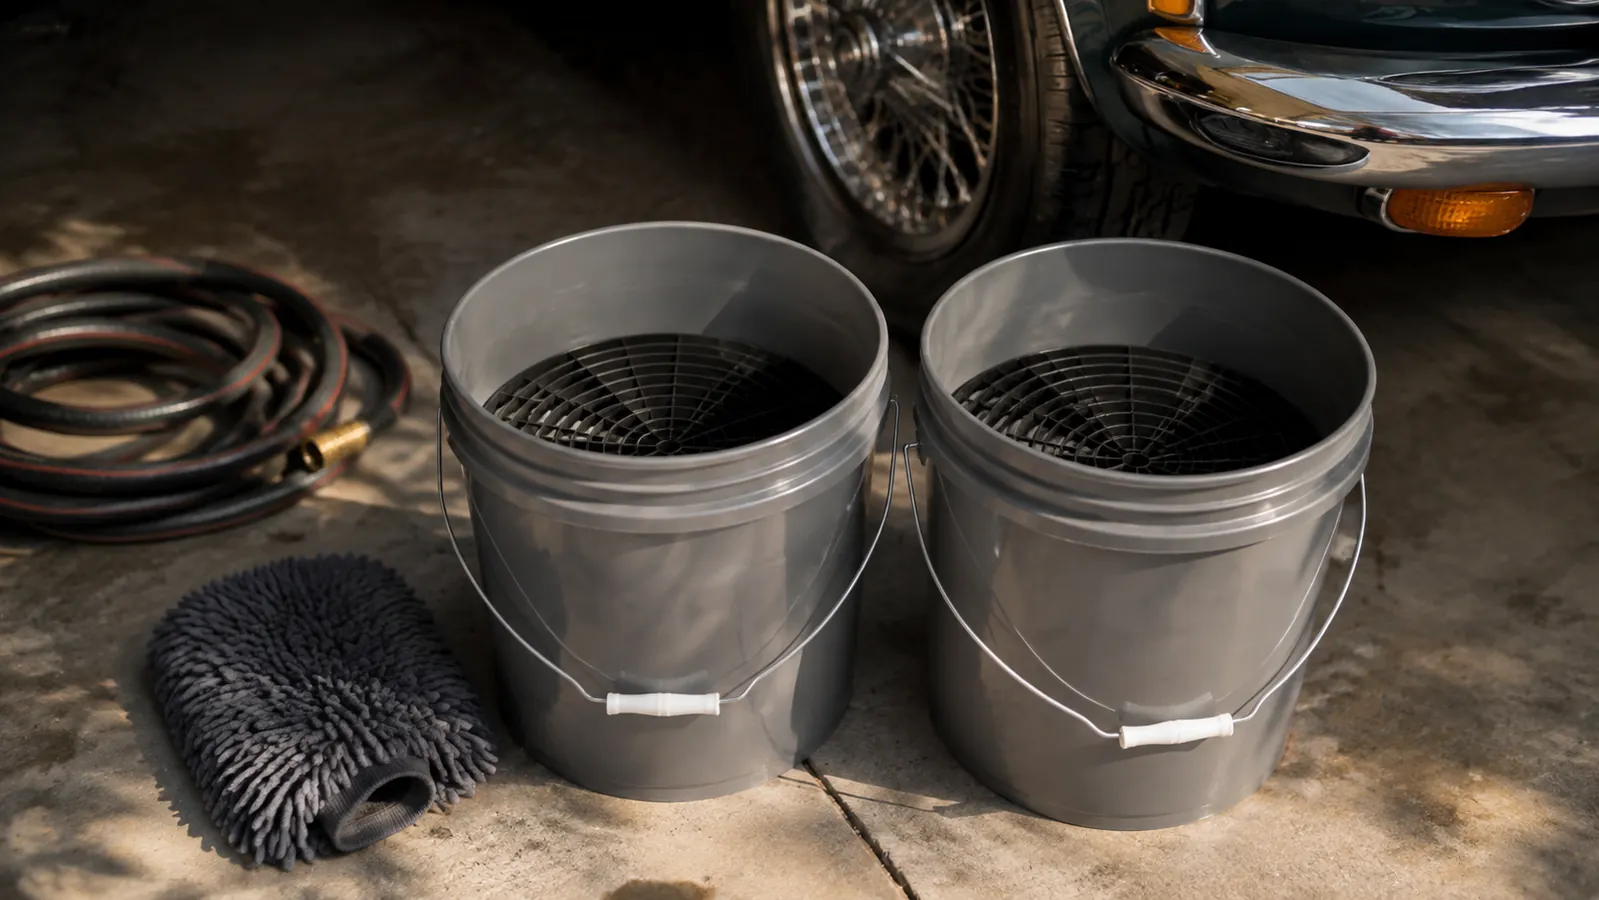
This is the step that quietly separates people who wash a car from people who swirl a car, and it costs almost nothing. One bucket holds your clean soapy water. The other holds plain rinse water, and it has a grit guard, which is basically a plastic grate sitting in the bottom of the bucket. Every time you dip your mitt, you rinse it in the rinse bucket first, and the grit guard traps the sand and road grit that would otherwise float back up and get dragged across your paint on the next pass.
I know it sounds like a gimmick until you feel what settles in that bottom grate after washing a car that has been sitting through a season of rain and dust. It is startling how much grit a single mitt picks up. Without the second bucket, that grit goes straight back onto the panel. With it, the dirt sinks and your mitt comes up clean. On my old truck, the step-in seam behind the front fender is where the mud hides, and the grit guard is the only reason I can run a mitt across that panel at all without cringing. Same idea as keeping a clean rag in the hangar when you're wiping a prop. You do not want to be grinding anything into the surface you just spent money on.
Step 2: Snow Foam First, and Give It Time to Work
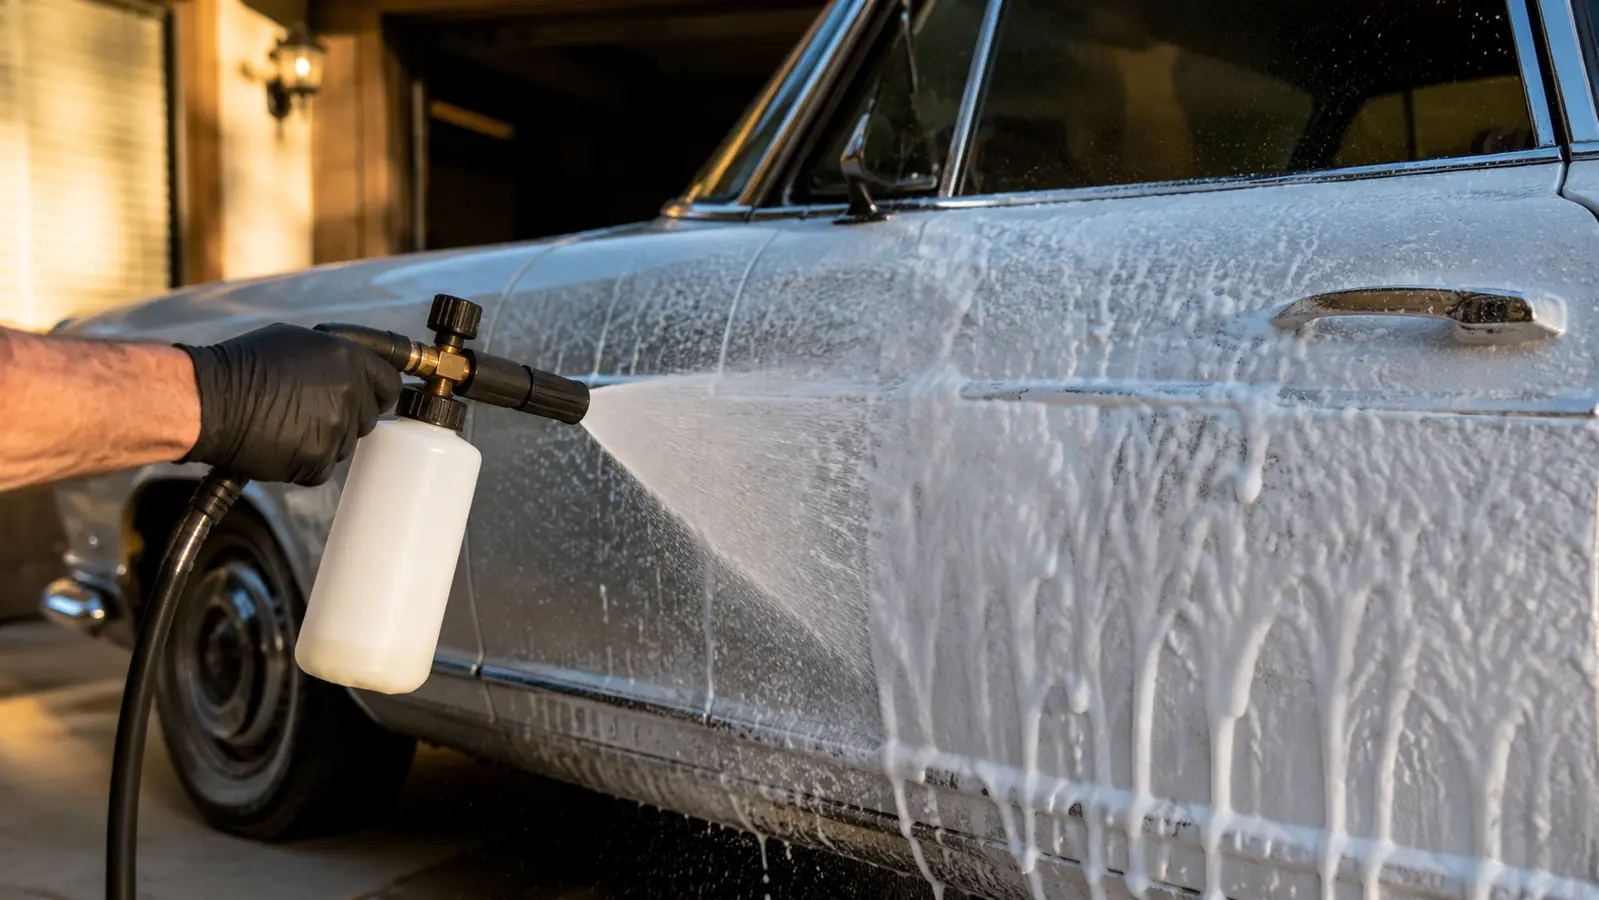
Before a single mitt touches the paint, the whole car gets a coat of snow foam from a foam cannon. Fill the cannon's little bottle a third of the way with Chemical Guys Honeydew, top it off with water, and let it rip over the whole car top to bottom. What you are doing is giving the loose dirt a reason to leave. The foam clings to the panel, soaks the crusted-on bugs and road film, and lifts the grit up off the paint so it can rinse away instead of being dragged across it.
The word people miss in all the foam-cannon hype is dwell time. The foam does not clean by sitting pretty and looking good, although it does look good. It cleans by clinging to the paint for a few minutes and softening everything underneath. So spray the whole car, then walk around, grab your second bucket, ready your mitt, and give the foam a real minute or two to work before you rinse it. On a car that has been sitting dirty for a couple of weeks, I will sometimes foam it, rinse it, and foam it again. The first pass loosens, the second pass finishes. Cheap insurance, and one gallon of Honeydew goes further than you would think because a little soap in the cannon makes a lot of foam.
Step 3: Rinse Top to Bottom, and Wash Top to Bottom
Rinse the foam off with plain water, working from the roof downward. You are washing the dirt off the car in the same direction gravity would carry it anyway, so the cleanest water hits the cleanest panels and the dirtiest water ends up on the rockers, which is exactly where you want the nastiest rinse water to finish. Then refill the soap bucket with fresh suds and wash the same way, top to bottom, one panel at a time.
Use a soft wash mitt, and use flat, straight passes, not little circles. Little circles are how you polish in a swirl pattern with your own hand and never mean to. A long, straight, overlapping pass across a fender moves the dirt once and moves on. Rinse the mitt in the grit bucket between every panel, even if it does not look dirty. It is dirty. It always is. And when you finish a panel, rinse it before the suds dry on the paint, because dried soap leaves a film that dulls the finish and is a royal pain to get off.
Step 4: Dry With a Pat, Not a Drag
Here is where most of the damage that shows up in the sun actually happens. People wash carefully and then drag a dry terry towel across wet paint, and that towel picks up whatever grit the rinse left behind and grinds it in. Instead, dry with a clean microfiber drying towel or two, and work in a pat and blot, pressing the towel down to soak up the water rather than dragging it across the panel. Same reason you would blot a freshly sprayed panel with a tack rag instead of wiping it. You lift the water off, you do not sweep it.
If you live where the water is hard, drying quickly matters double, because mineral spots will dry into the paint and etch it. Work in the shade or early in the morning, one panel at a time, and do not let the water beat you. On the Thunderbird I dry the big flat areas first, because that is where the water sits and where the sun will bake a spot in fastest. It is fifteen minutes of patience that keeps you from chasing water spots with a polish later.
Step 5: Watch What Your Soap Does to the Wax
The quiet difference between a soap made for washing a car and a soap made for washing dishes is what it does to your wax. Many detergents strip wax and sealant as they clean, and on an old paint job that gets hard to ignore. You wax in the spring, wash through the summer, and by fall the water is beading about as well as it does on a windshield. The soap ate your protection one wash at a time.
Honeydew is pH-balanced, which in plain language means it cleans the dirt off without stripping the wax off underneath. That is the whole reason I keep a gallon around. On the six-cylinder coupe, which only has whatever factory paint is left and a good coat of paste wax, I can wash it every couple of weeks through the season and the water still beads up in the fall like I waxed it last week. On a car that cannot be repainted cheaply, the soap you choose is a bigger deal than the towel you use. The towel you can control with technique. The soap decides what it will and will not take off your paint for you.
What Else Helps
A couple of things worth adding once the basics are in place. Hose nozzles matter less than water pressure, but a soft spray setting is kinder to thin paint than a jet. And wash in the shade, not in full sun, because sun dries the soap and the water before you can, and a hot panel is a lot more likely to show a streak. If your car has been sitting long enough that the paint feels like sandpaper, give it a clay bar before you wash, not after, so the wash is not dragging that embedded grit around.
And do not skimp on the part that does the work. A cheap tangled mitt that falls apart after two washes is false economy, the same way a cheap hose that kinks every ten feet makes you want to go back to buckets. Get a mitt you can toss when it gets tired, a couple of good microfiber towels for drying, and a soap you trust. The rest is just paying attention.
I can wash the coupe every couple of weeks through the season and the water still beads up in the fall like I waxed it last week. That is the whole reason Honeydew stays on my shelf.
The Short Version
If you remember one thing, remember this: a scratch in a wash is almost never from scrubbing too hard. It is from dragging grit across the paint. So the whole method is really three small habits. Pre-soak the dirt with foam and give it time to lift. Keep the grit out of your mitt with a second bucket and a grit guard. And dry with a pat, not a drag. None of that is hard, and none of it costs much more than a bar of soap.
The soap is the one place I would not cut corners, and Chemical Guys Honeydew is what I reach for every time. It is pH-balanced, it foams up thick in a cannon, and a gallon lasts me most of a season on several cars. It will not make a tired paint job new, and I am not going to tell you it will. It will just wash the dirt off without helping the sun fade and strip what is left of your protection, which is more than most soaps can say. Start with the soap, add the two buckets, and you are already washing your car better than most people who wax it twice a year.
The Soap That Lets You Wash All Season Without Eating the Wax
A pH-balanced wash soap keeps the protection on your paint while the dirt comes off, which is exactly what a classic needs. Check today's price on Amazon and see if Honeydew earns a spot on your shelf like it did on mine.
Amazon Check Today's Price on Amazon →