
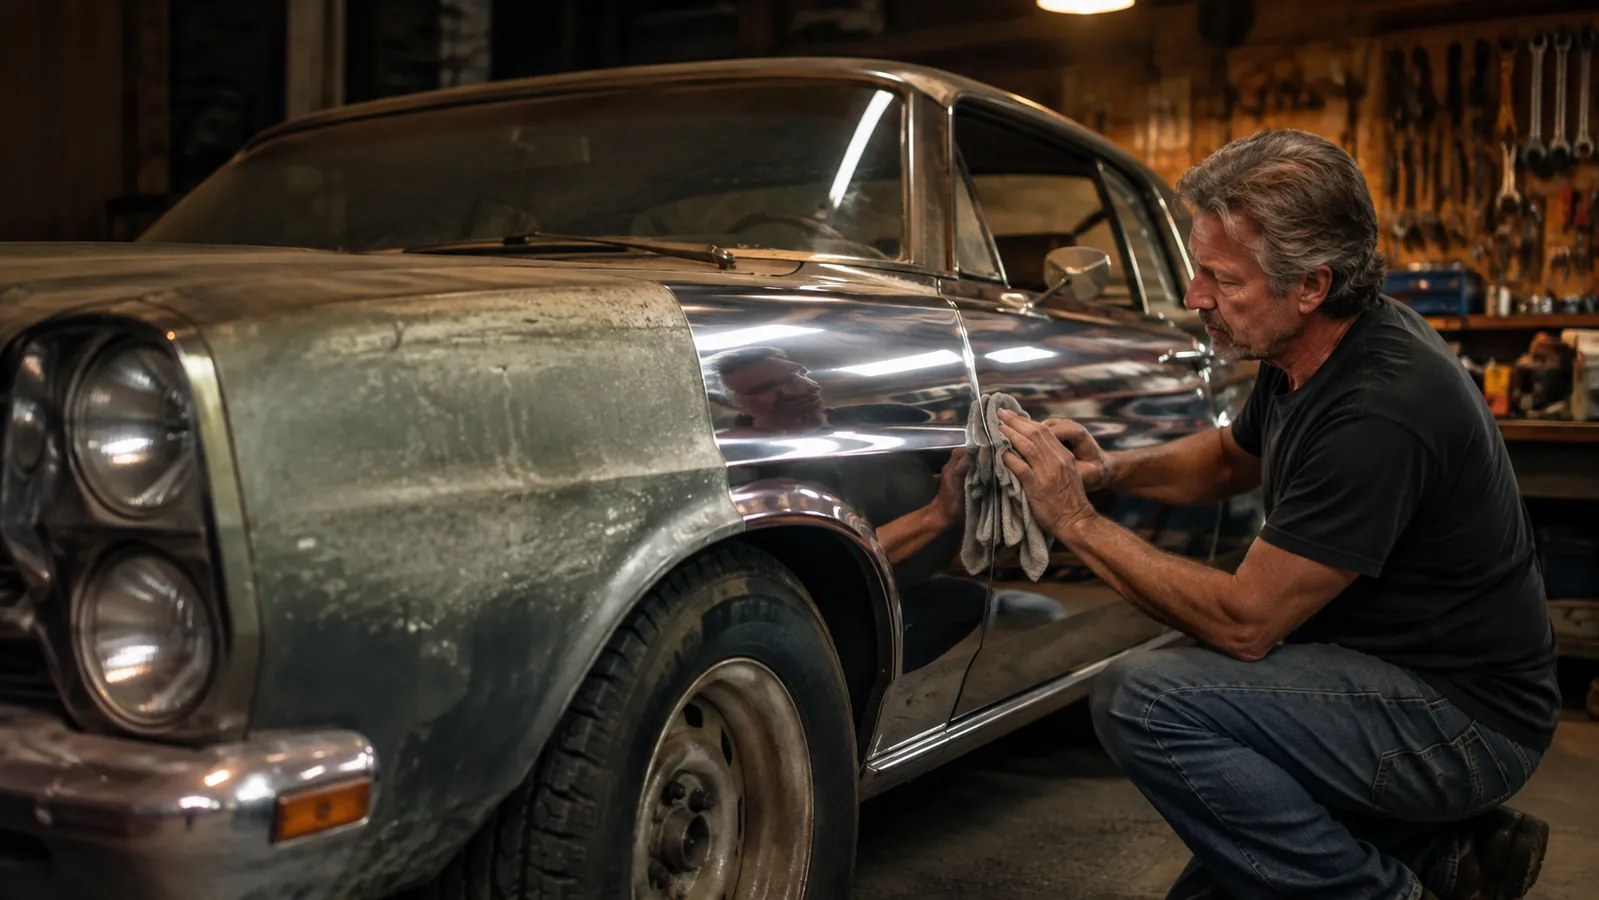
Every spring I watch a neighbor back an old coupe onto a trailer and haul it off to a paint shop for a respray he cannot really afford and does not actually need. The paint is not gone, it is just tired. The clear coat has gone cloudy, the color has gone chalky, the hood feels like fine sandpaper where it used to feel like glass. Same as a hundred hoods and fenders I have cut back in my own garage, and an afternoon with a dual action polisher would have brought most of it home for the price of a good dinner and a few hours I was going to spend in the shop anyway.
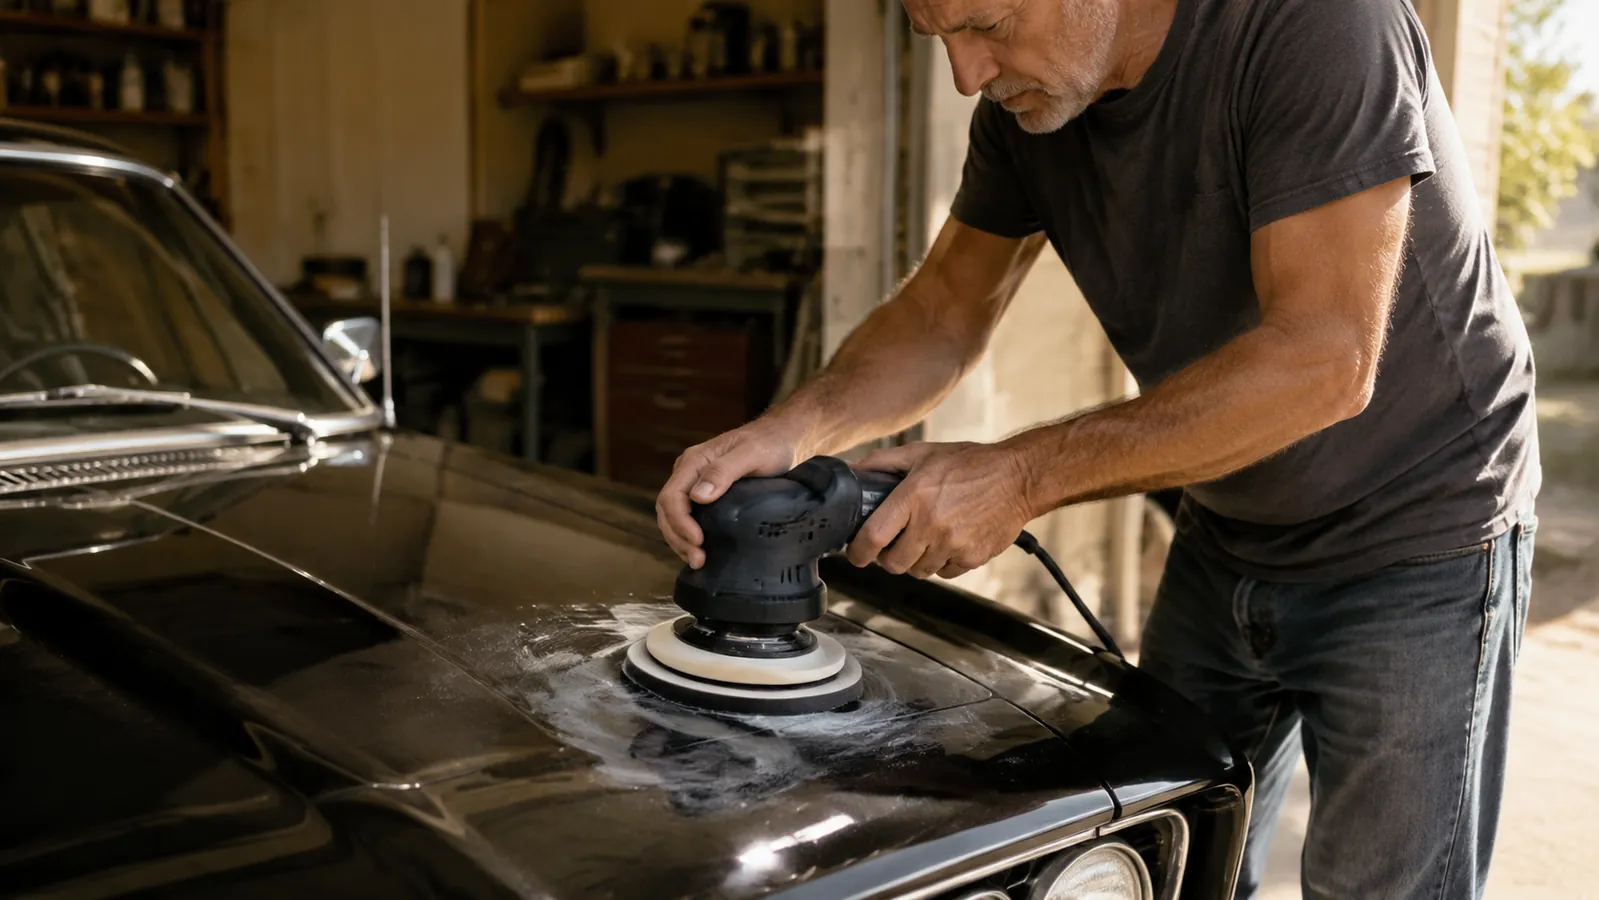
The tool that changed my mind is the AVID POWER 6 inch dual action polisher. It is not a rotary buffer. A rotary spins the pad in one direction and turns, and it will scorch a panel in six seconds if you hold it still or lean on it too hard. A dual action machine spins the pad while the whole head also orbits, so the pad never hammers one spot the way a rotary can. That makes it forgiving enough for a first timer to learn on a real car, on actual paint they care about, without turning the clear coat into dust. I have used one through a full season of cutting back single-stage paint and cloudy clear coat on old Detroit iron, and if you have a faded car sitting in the garage, this is the method I would hand you before you ever book a paint job.
The one tool that made polishing a real car possible
A dual action polisher is the difference between blisters from a hand-cut and a finish you can actually bring back. The AVID POWER 6 inch kit comes with three pads and six speeds, enough to start a painted classic the first weekend without buying a drawer full of extras.
Amazon Check Today's Price on Amazon →The Setup Before You Touch the Car
Ninety percent of a good polish is the twenty minutes before the machine ever touches paint. Wash the car first, not just a rinse, an actual wash that gets the road film off. Dirt left on the panel becomes grit under the pad, and you will cut swirls into the very paint you are trying to save. I wash with a foam soap and two buckets, one for soapy water and one for rinsing the mitt, then dry it, then run a clean hand over the panel to feel for anything that still bites. If I feel tar or a drip of something dried, I deal with it before the pad does.
Then tape the trim. Chrome, rubber, the plastic bits around the windshield, emblems, the trim along the drip rail, anything the pad could catch on. Masking tape is cheap and an afternoon of taping beats a morning of trying to scrub compound out of a rubber gasket. Work the pad flat up to the tape and stop, do not buff the polish off the panel edges onto the adjacent trim. The same caution applies to any raised body line or sharp crease, the pad wants to cut there a little harder, so ease off the pressure as you cross it.
Step 1: Choose the Right Pad and Compound
The pad does the cutting, so pick it for the job you are doing, not for what looks impressive. Foam pads come in colors and each color usually means a different cut, from a coarse cutting pad down to a soft finishing pad. For faded single-stage paint or cloudy clear coat, a medium cut pad with a compounding product is the place to start. On the AVID POWER kit you get three pads out of the box, which is enough to learn the difference between a cutting pad and a finishing pad without buying a drawer full of foam on your first try.
Here is the rule I live by: if the paint is chalky and dull, you want a compound and a cutting pad. If it is already smooth but just flat, you want a polish on a softer pad. Do not reach for the harshest thing you own and lean on it. You are not trying to strip the car, you are trying to remove a thin layer of oxidation and haze, and the least aggressive setup that will do the job is the right one. I keep a bottle of compound and a bottle of polish on the bench and I label them so I grab the right one on a tired afternoon.
Step 2: Prime the Pad and Set Your Speed
A dry foam pad will eat compound and scrub paint. Prime it first. Put a few small dots of compound on the pad and work them into the foam with your fingers before you touch the paint, or hold the machine off the car and blip the trigger to spread it. Then lay a thin, even bead of compound around the pad, a few dots near the edges, not one big smear in the center. Too much product does not cut faster, it just slings, and you will spend the afternoon cleaning compound off the fenders, the wheels, and the garage floor.
Set the speed low to start. The AVID POWER has six speeds and I run most cutting passes between three and four. Low speed spreads the product across the section without flinging it, then you can bump it up as the section works. Start slow, feel the bite, and let the paint tell you whether it needs more speed or more passes. A dual action machine will not punish a mistake the way a rotary will, but you can still overwork a spot and thin the clear coat, so ease in and respect the panel.
Step 3: Work One Section at a Time
This is the step most people skip and the step that separates a good result from a striped one. Work a section about two feet by two feet, square it off in your head, and finish it before you move. Compound dries fast, and if you stretch a pass across half the hood, the first part flashes over and gets hard to remove while you are still working the far end. A small section keeps the product alive and keeps you honest.
Keep the pad flat and keep it moving. Overlap each pass by about fifty percent, go side to side, then up and down, and do not let the machine sit in one spot. The whole point of the dual action is that it cancels out the heat and the burn that a rotary can cause, but it still needs to move. Three or four passes across a section, pad flat, then wipe it and look. If you keep the machine moving and the pad flat, you can hand this to somebody who has never picked one up and they will not hurt the car, they will just be slow until they find the rhythm.
Step 4: Read the Section and Repeat as Needed
Wipe the compound off with a clean microfiber and look at the section in the light, not in the shadow. If the haze is gone and the paint has depth, move on. If it is still chalky, do one more pass at the same speed with a light hand. If it is not budging after that, you may be fighting paint that is genuinely too far gone, paint that has oxidized all the way through, and that is worth knowing before you spend the whole afternoon on a panel that needs a spray gun instead.
Do not chase perfection in one session. Cut the whole panel, then the whole car, then come back over it with a finishing polish on a soft pad to pull the last bit of gloss out. That second, gentler pass is where the shine actually comes from. The compound gets it clean, the polish gets it wet, and rushing the second step is how you end up with a clean but flat hood that still looks dull in the sun. I learned that the hard way on an old Thunderbird, cut the whole thing, thought I was done, and wondered why it still looked dusty until a buddy told me to go back over it with the soft pad.
Step 5: Wipe, Inspect, and Seal It
When the panel is cut and polished, wipe it down with a fresh microfiber and step back. Walk the length of the car, catch the light off the metal, and look for any section you rushed. A DA cuts evenly, so any spot that is still dull is usually a spot you underworked, and it is easy to go back and fix one corner rather than learn to live with it. Tilt the panel in the light and look across it from an angle, flat straight-on light will hide a lot of what a cloudy day will show you.
Then protect it. A polished surface with nothing over it is just a clean surface waiting to oxidize again. Put a coat of wax or a sealant on before you call it done, let it haze, and buff it off. That is the difference between a shine that lasts a month and a shine that is still there at the next car show. The polishing is the work, the wax is the keeping. I have seen guys spend all day cutting a car and then drive it home and park it in the sun for a month, and by the time they get it to the show the hood is hazy again and they blame the polisher.
What Else Helps
A handful of clean microfiber towels, more than you think you need, because a dirty towel will scratch what you just polished. A second pad for the finishing pass so you are not cutting and polishing with the same foam. A clean, shaded spot to work, because heat makes the compound flash off faster and makes the polish harder to remove. And patience, which is the one supply you cannot order. The dual action polisher does the heavy lifting, but the finish is decided by the order you work in and the pressure you keep.
I keep the AVID POWER on a shelf in the garage with the pads bagged so they stay clean, and it has a habit of getting used more than I expect. Once you realize a faded fender is an afternoon, not a paint shop, you start looking at every dull panel on the place differently. Brutus and Dottie, the bulldogs, have learned to stay well back when the machine is running, the firing of a DA polisher is a sound they trust about as much as a lawnmower. The patience part, they are actually better at than I am, they will sit and watch a panel for an hour without deciding it needs to be faster.
How This Holds Up on Real Paint
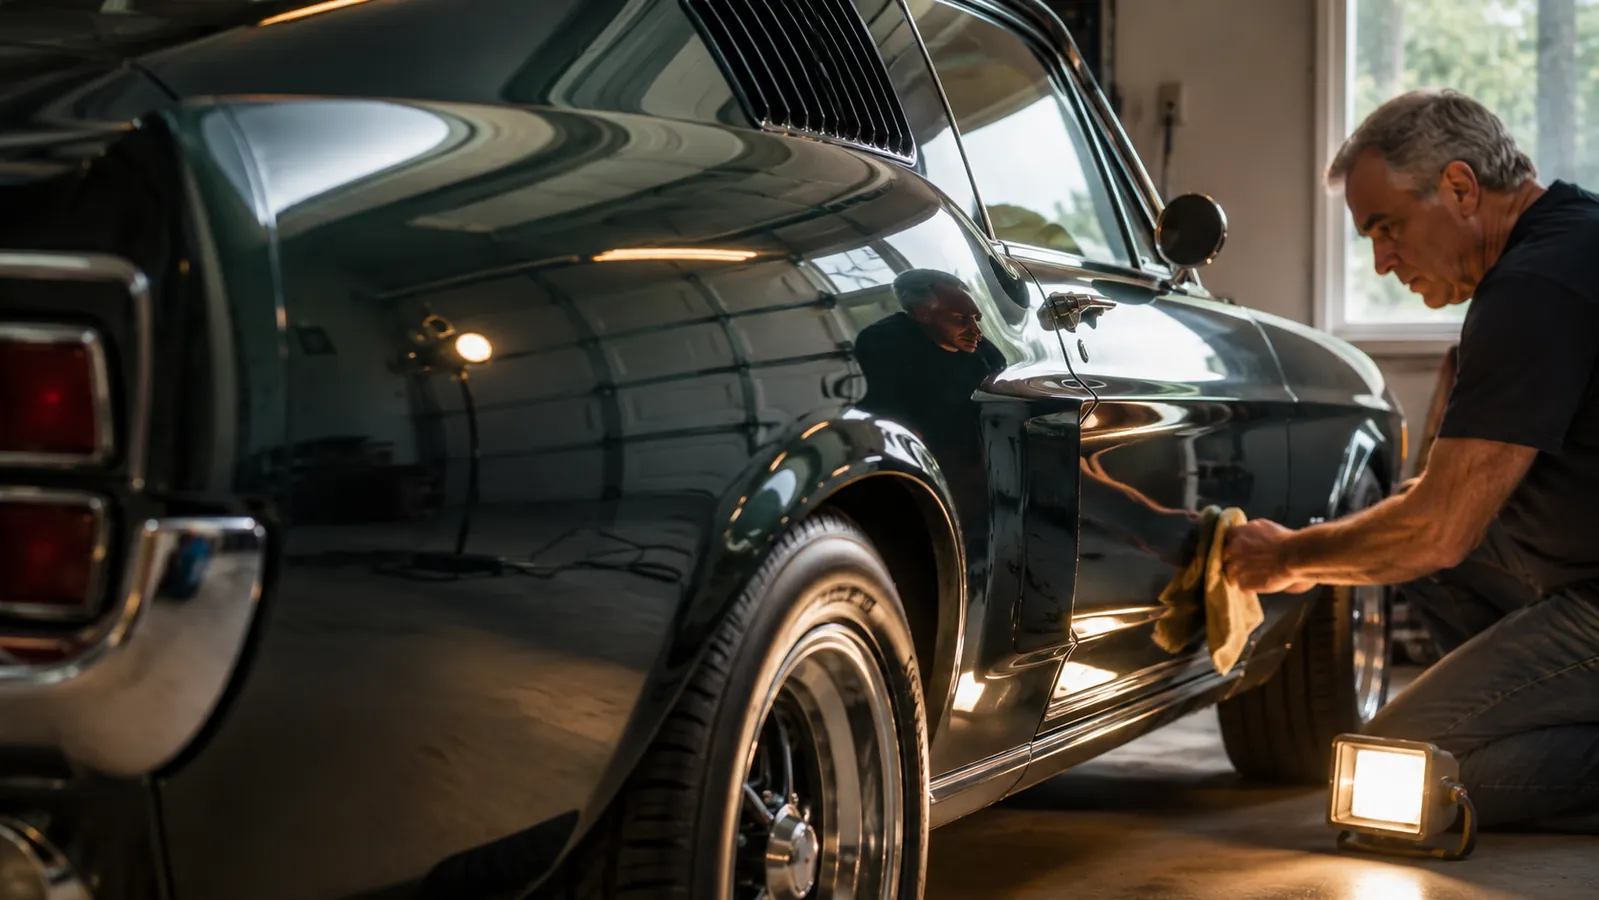
The thing people worry about most is burning through clear coat, and the dual action design is exactly the answer to that fear. The pad orbits, so the heat spreads out and dissipates instead of piling up in one place the way it does with a rotary. That does not mean you can be careless, thin clear coat is thin, and a faded single-stage car has less paint to spare than a modern car, but it does mean the margin for error is wide enough that you can actually learn as you go. I have never burned a panel with a DA, and I have burned at least one with a rotary, back when I was young enough to think a rotary was the only real way.
It also holds up on a car that is not perfect. If the paint is decent but the car sat in a field for a decade, the DA will bring the finish back far enough that you can sell it or drive it proud for another season. It is the same patience my hangar friends talk about with a corroded airframe, prep, patience, and not skimping on the step that holds everything together. Polish is not a miracle, it is maintenance, and it is the cheapest maintenance a faded classic can get.
You are not trying to strip the car, you are trying to remove a thin layer of oxidation. The least aggressive setup that works is the right one.
Bring a faded classic back this weekend
A dual action polisher is the difference between an afternoon of blisters and a hood you can see yourself in. The AVID POWER 6 inch kit includes three pads and six speeds, so it will do the cutting, the polishing, and the waxing on one still-faded classic.
Amazon Check Today's Price on Amazon →